DIY Compass
08.07.2021
Have you always wondered how a compass works and what it actually shows? Use our crafting instructions to make your own compass and find out which direction is north.

Warm weather is right around the corner. Which is of course the perfect time to set out on new and colorful adventures. With our homemade compass, you’ll always stay on the right track and easily get to know the compass directions.
What you need:
- scissors
- needle
- magnet
- craft glue and/or tape
- bottle top
- bowl with some water
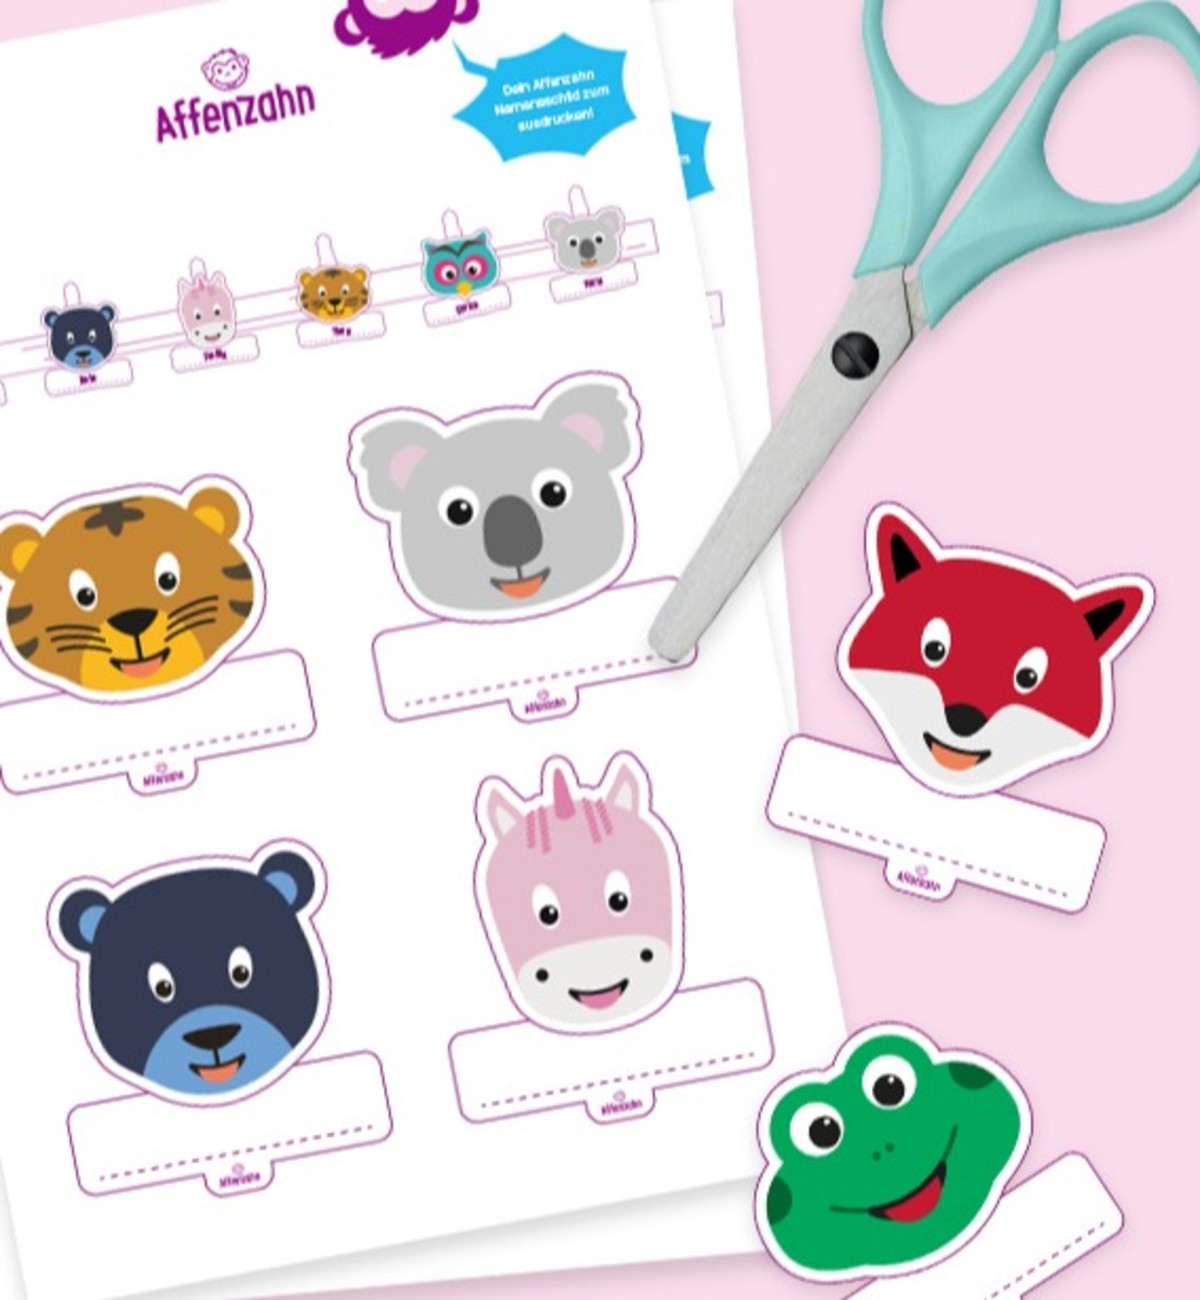
- free downloadable Affenzahn-template or the packaging of your velcro-badge
Step 7: The compass will now automatically be aligned in the water, and you can easily read where north, south, east and west are. And now off to your new adventures. 😉


